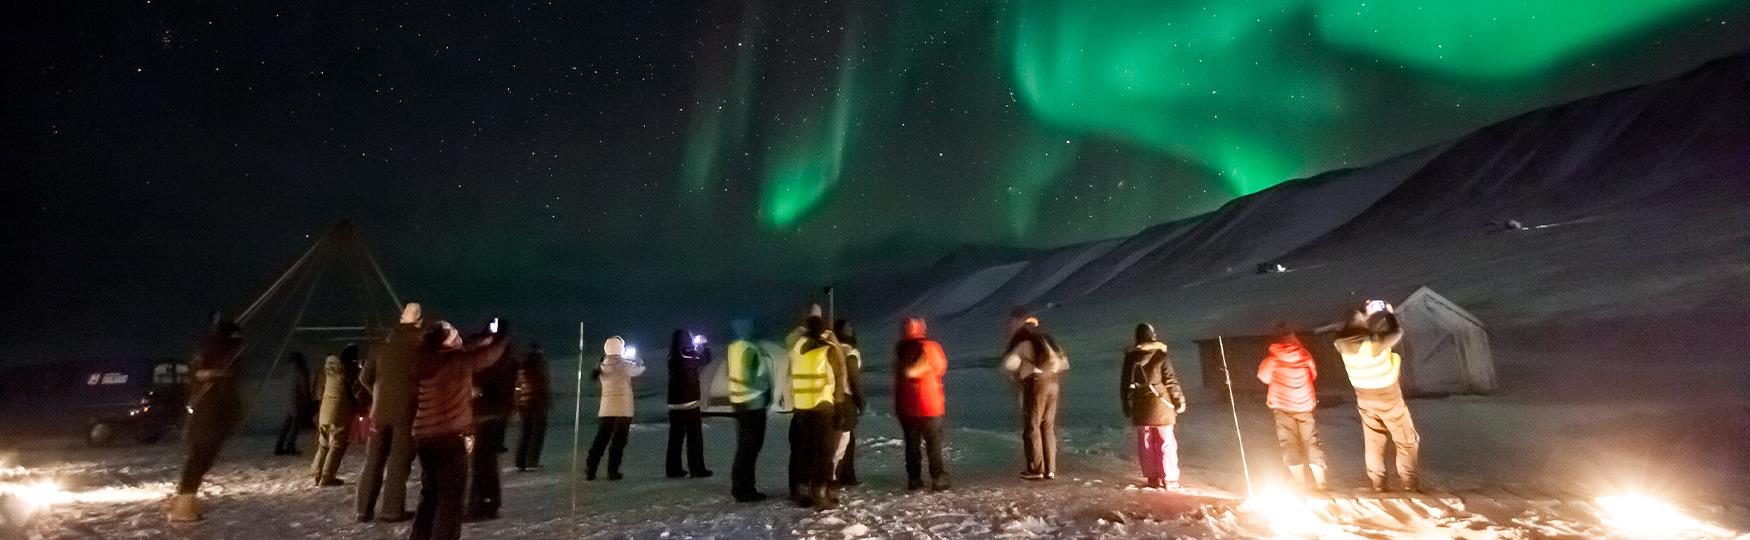
In Svalbard you have excellent conditions to experience the Northern lights. Since Svalbard is situated so far north we have the polar night, that offers the possibility to see the Northern lights all through the day and night. But how do you take good photos of this phenomenon? Here you will find a quick guide for Northern lights photography.
You need:
- A camera and lens (preferrably with a wide-angle lens)
- A tripod to keep the camera steady
- Warm clothes (wool in layers)
- A headlight (to sort your camera settings)
- Dark place (avoid light pollution)
- Hot drinks to keep you warm
- Remember: Patience is your friend
Don't have a camera of your own, or are you in need of an optimal wide-angle lens for northern lights photography?
Don't fret, in Longyearbyen you can rent photography equipment from Svalbard Camera Rentals!
What to do:
1. Set your camera in manual mode (M).
2. Set the focus to "Infinity".
3. ISO is all about light sensitivity, and poor light requires high ISO. Set the ISO to 3200. Depending on the light (very strong Northern Lights, full moon, lot of snow), 1600 or even 800 might be enough.
4. You need the aperture (f) to be as wide as possible (the lowest number), f: 1.8, f: 2.8, f: 3.2.
5. You need to get the fastest possible shutter speed in order to ”freeze” the Northern Lights’ movements. Long shutter speeds make the aurora borealis appear like a veil over the sky. Anything from 2 to 30 seconds can work depending on your camera.
6. Use a tripod or rest your camera on something steady. Set the self-timer on 2-3 seconds so you have time to let go of the button before it starts taking pictures.
7. Be prepared! Sort your camera settings at home before you go out. You want to be as ready when she appears.
Good luck!
This article is published by Visit Tromsø. You can read it in "Tromsø guide 2018/19".